Are you wondering how to get in shape for a Grand Canyon hiking trip?
Well, I’d love to help.
Here are 5 essential training tips to get you ready for a Grand Canyon hike.
Why are these training tips important?
Because if you go into your journey prepared, you will not only complete the journey safely, you will truly ENJOY the experience every step of the way.
If you’ve booked your trip already, congratulations!
If you’ve never done a hike into the Canyon, trust me, you’re in for one of the most incredible experiences of your life. I know first-hand, having done the Hermit Trail Loop, the exhilaration of the journey down to the Colorado River and back up. How making the trek can be a life-changing event.
So like any big event in your life, it is important to be prepared.
I think it’s safe to assume that anyone who starts a hike into the Canyon fully intends to complete it. But, have you ever thought about the difference between completing the trek and truly ENJOYING the journey?
To be prepared to truly enjoy your Grand Canyon adventure, there is no getting around it, you have to be in shape physically and mentally.
When you’re in shape, you will never be in the Canyon thinking, “Can I do this?” You will know you can. And you won’t be nursing sore muscles or worse—injuries— instead of soaking in the grandeur and spectacular views surrounding you. And happily, you will never have to be airlifted out. (Unlike the 250 people each year who have to be rescued.)
What are some challenges of hiking the Grand Canyon?
It’s huge….the Canyon is larger in size than the state of Rhode Island.
Many people don’t know that it’s a desert. So it’s hot and it’s dry. And therefore dehydrating.
It’s rugged…while the Park Service does its best to maintain the trails, many parts of the Canyon are rocky, steep, and dangerous.
In this blog post, I will share these 5 essential training tips to get you in shape for your hike in the Grand Canyon:
-
-
- Train your quadriceps for the downhill
- Get your hamstrings in shape for the uphill
- Prepare your back for carrying weight
- Get your body used to drinking a lot of water
- Teach your mind to be okay walking slowly
-
But first, what can you expect from a Grand Canyon hike?
Let me give you a bit of a preview of what you may encounter, both physically and mentally on your journey. Oh, and the pictures I’ve included are from my hike of the Hermit Trail Loop.
This is what a 4 day trek down to the Colorado River and back up may be like when you’ve prepared and in shape.
Day 1
You’ll probably drive to the National Park from Flagstaff or another nearby town. As you pull through the park gates, you begin to see the Canyon itself. The full expanse of what you are about to accomplish is coming into focus as you drive to your trail head.
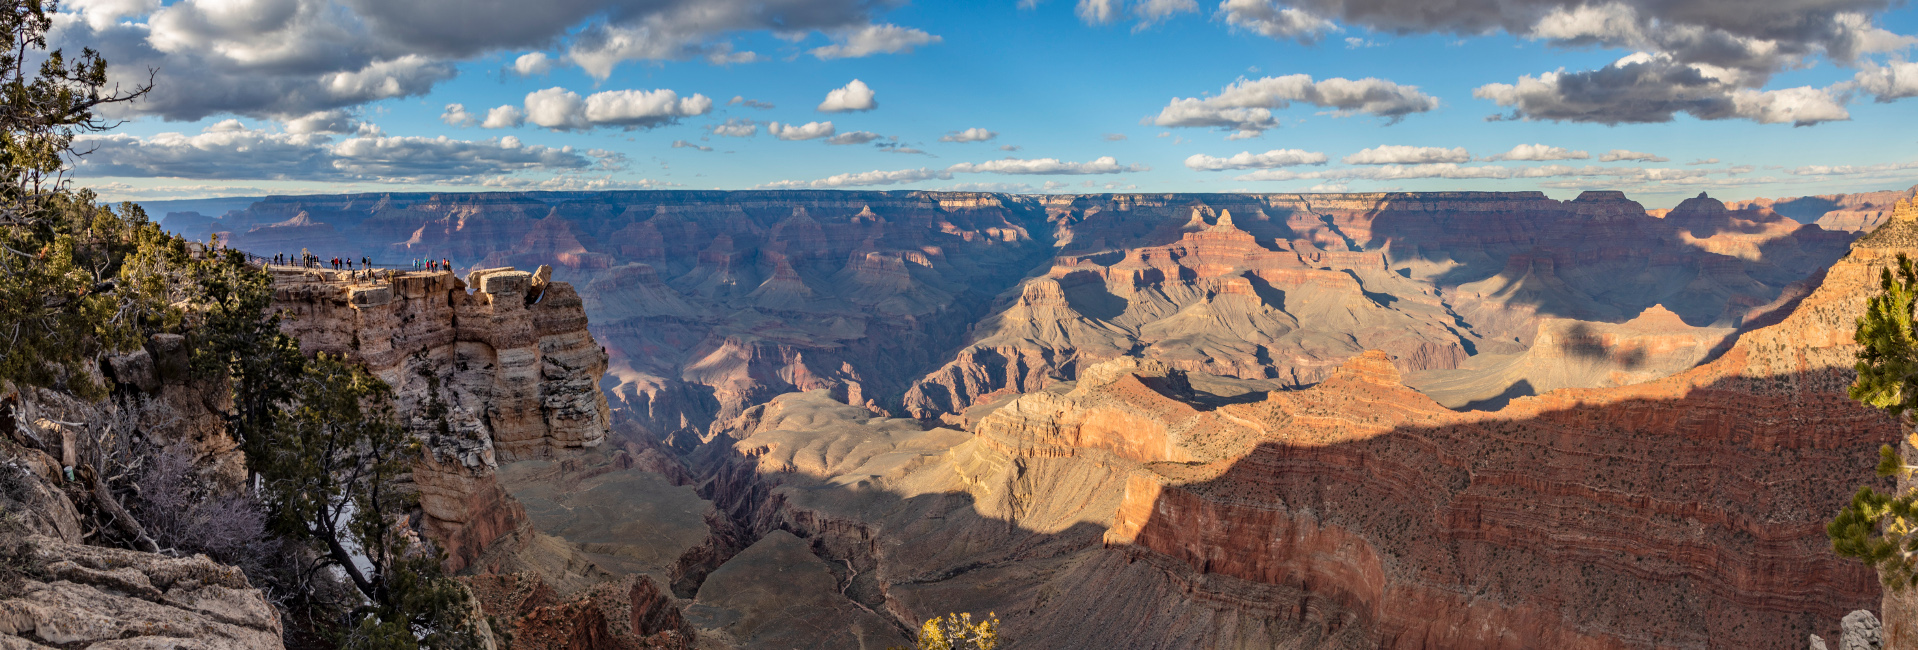
Looking over the Canyon rim, you can barely see the river reflecting light more than a mile below.
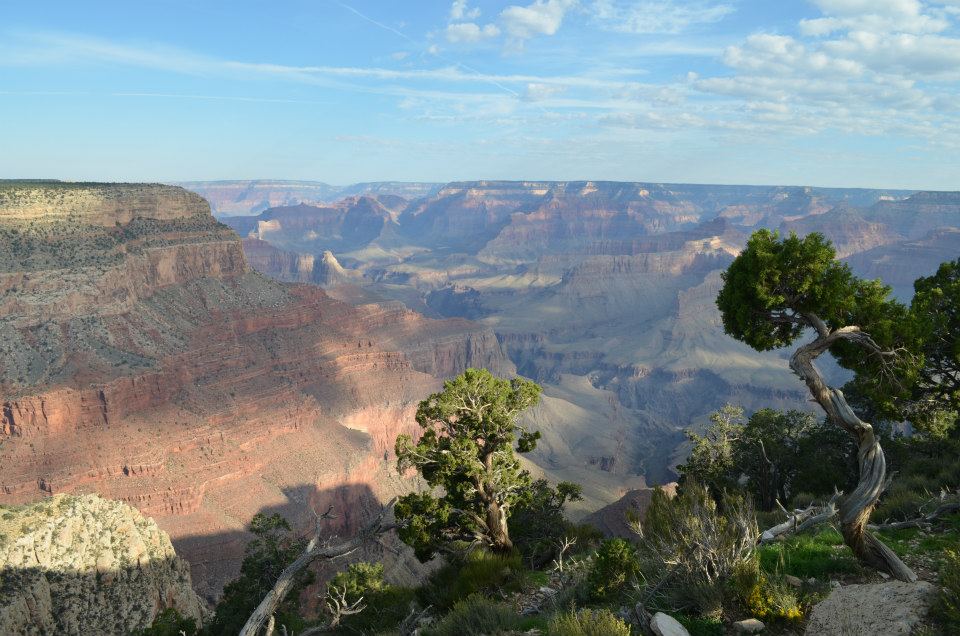
Overwhelming awe may suddenly turn to a bit of trepidation knowing that not only will you have to hike down to the river, you also have to climb back out.
As the Canyon safety signs says:
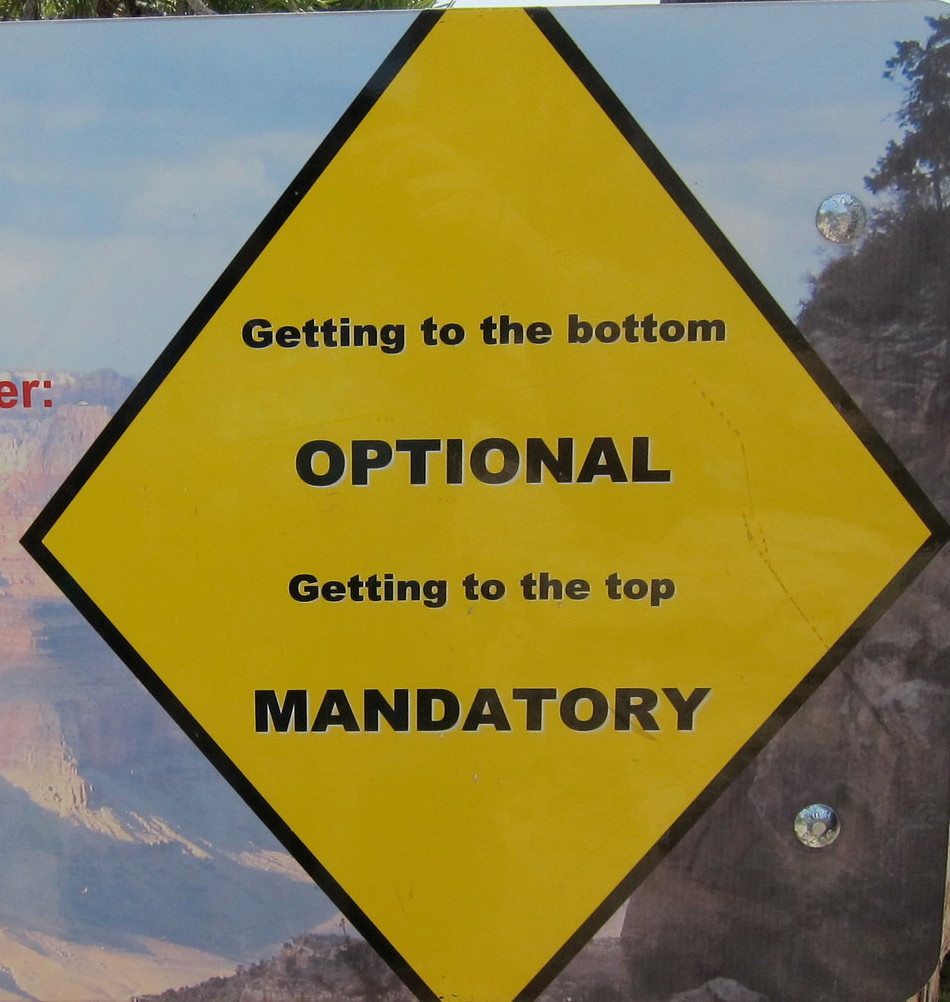
Once you’re at the beginning of the trail, you load up 45 lbs of gear including your tent and food. You adjust your backpack and slather on a gallon of sunscreen. You’ll have to fill water bottles with hours worth of water and tighten your boots to keep you secure on a steep descent.
And now you’re ready to start your journey with a single step. As you begin your hike down, you just take it all in. The beauty, the expanse, the grandeur of the Canyon is beyond words.
You continue step by step. Literally stepping back through history. The fossils you see will not be dinosaur fossils, because the rocks you will be walking through predate the dinosaurs by more than a billion years!
The Hermit Trail that I hiked is considered an “unmaintained” trail by the National Park Service. This means that it is more rugged than the more well-known trails of the Canyon. Sections are washed out, eroded and tough to follow.
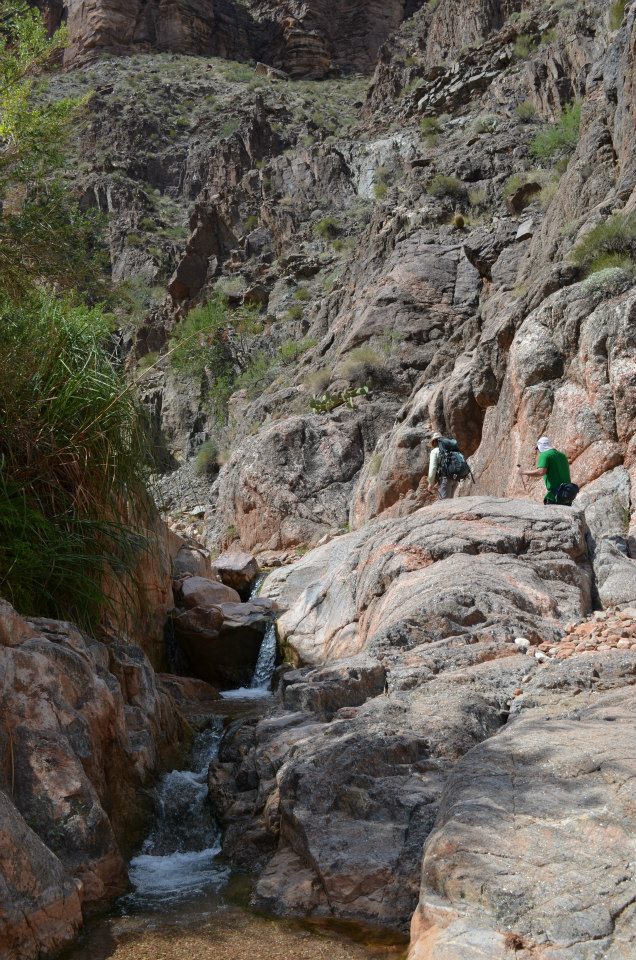
You will be mainly walking on rocks. Dusty, sharp, desert rocks. You will also encounter “scree” which is a collection of broken rock fragments that have accumulated through periodic rockfalls. The scree truly tests your balance.
But, it’s not until you have walked downhill for 8 hours, that you really understand how hard it is. By the time you reach camp for the night, your legs are on fire. You just want to lay down to rest.
Day 2
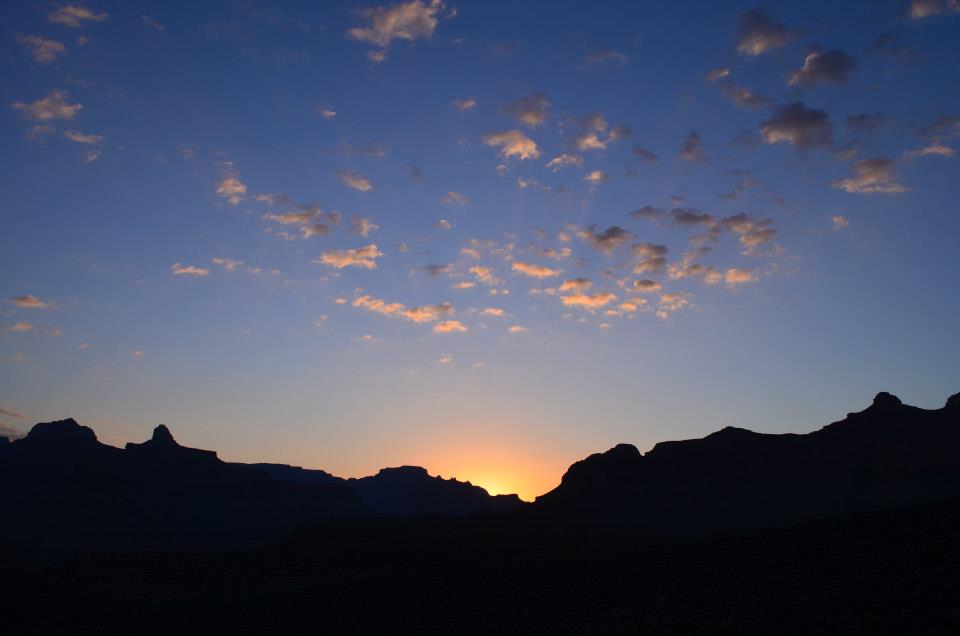
Waking up, the walls of the Canyon come into focus as they rise 4000 feet above you. If you’re like me, your first words are something like “Holy BLEEP I am in the Grand Canyon.” Imagine waking up to this!
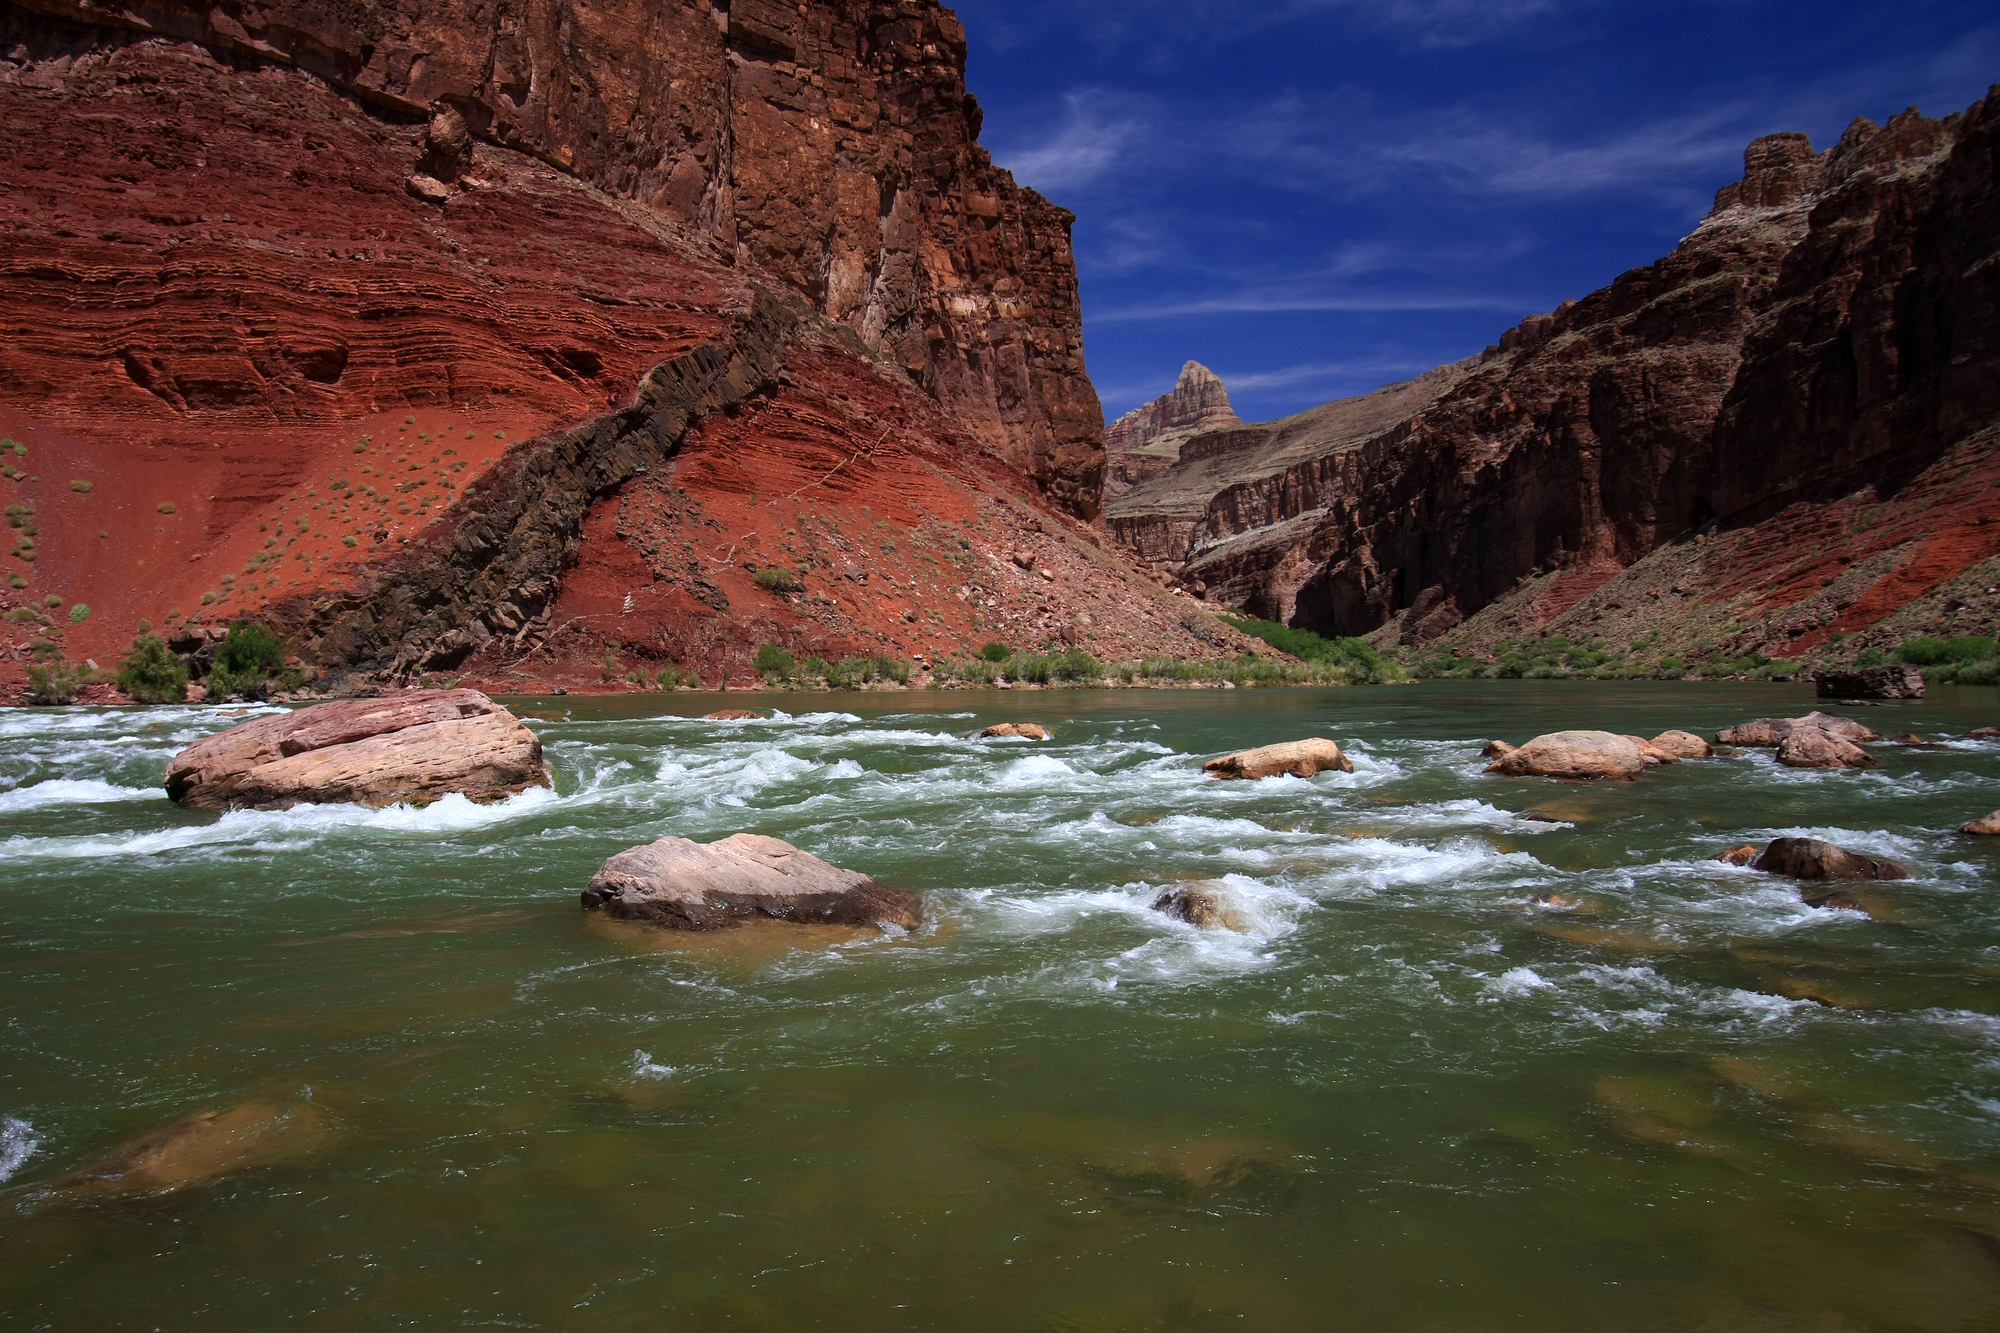
After enjoying a hearty breakfast, you’ll break down camp, leave you packs behind and go for a day-hike. You climb further down into the Canyon all the way down to the Colorado River and Hermit Rapids, one of the largest set of rapids on the Colorado River. If you’re lucky, you might be there while a whitewater raft is taking on the rapids.
If you are brave enough to hop into the 50 degree water, you take the plunge. Definitely take the plunge. You won’t be sorry. The chill waters invigorate you and wash the desert dust off.
After spending time hanging out by the river, enjoying some time off hiking, you retrace your steps back to camp. You throw on your pack and hike a short way to join up with the Tonto Trail. This trail runs parallel to the river, about a third of the way up the Canyon. It will be your hike for the next couple of days.
Day 3
By day 3 you’re at home in the Canyon. As strange as it sounds, it feels like you have lived down there your entire life. You are now used to its myriad of colors and its fascinating cacti and being covered in desert dust all the time.
And then there is the wildlife…you think nothing of having a mule deer or three walk feet from your camp. You are just a part of nature after all. You start to feel at home with the 1700 different species of plants, 250 species of birds, 91 species of mammals and 47 species of reptiles that call the canyon home.
Look up and you can see these amazing condors.
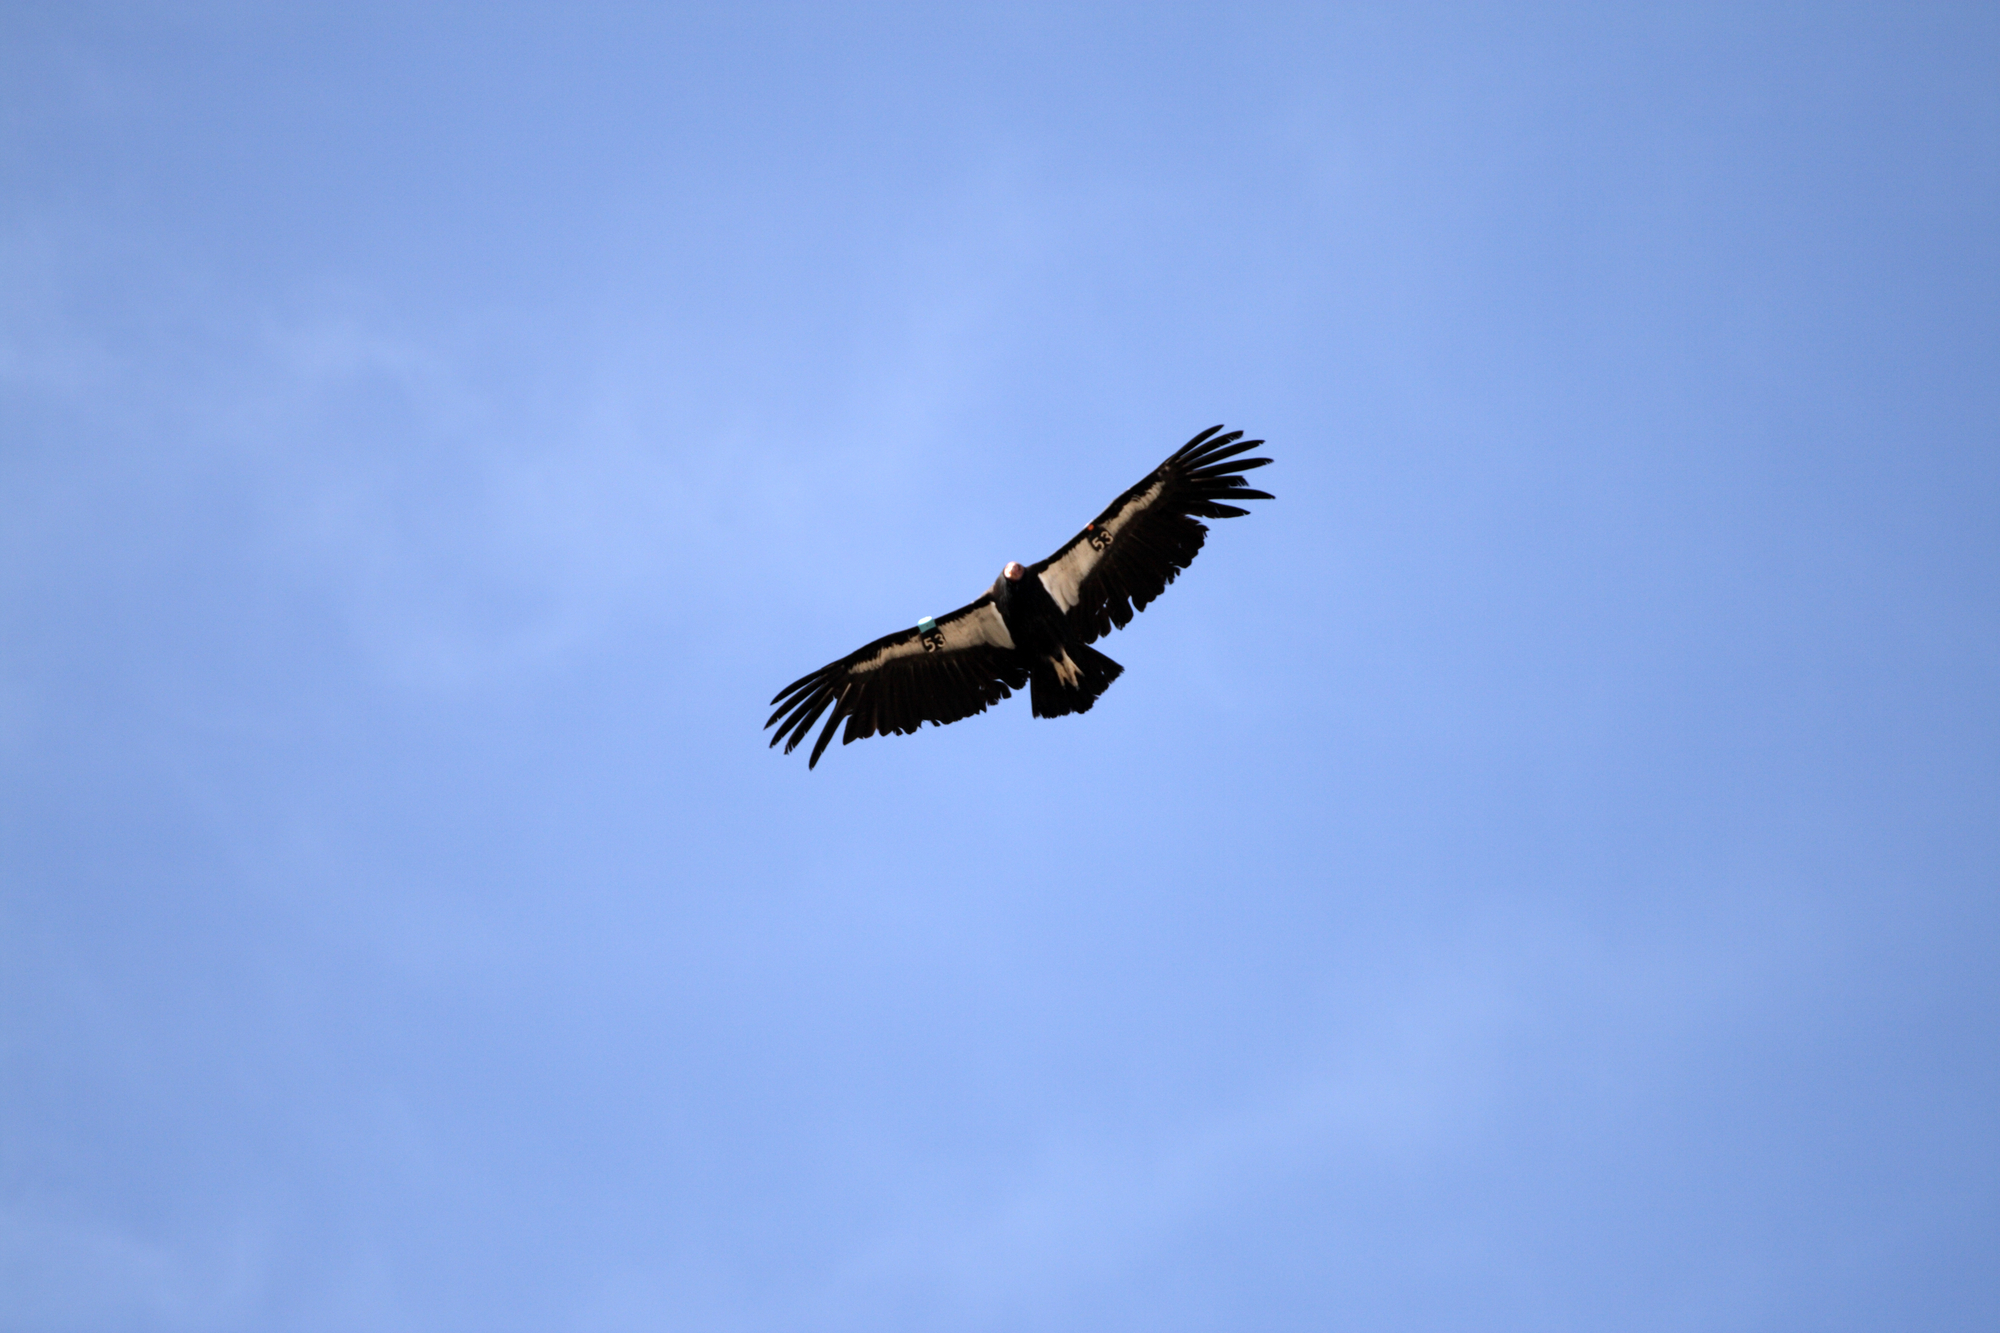
Laying in your tent at the bottom of the Canyon your last evening, you see what you think are shooting stars. They come so often you cannot believe it because you’ve never seen so many shooting stars in your entire life. But you come to realize that what you are in fact seeing are the flashes from people taking pictures at the rim of the Canyon which, coincidentally is where you will be hiking up to the next day. Once again the thought comes to you….”Holy BLEEP I am in the Grand Canyon.”
Day 4
You get up early while it’s still dark…VERY dark. It’s easy to forget how dark darkness is away from the light pollution of nearby cities.
One last breakfast and you start the final hike. You are leaving early so you can watch the sun rise over the Canyon. You make it to the perfect spot to view the spectacular sunrise that turns the walls of the Canyon into a crazy combination of reds and yellow. Not a word is spoken…there are no words to do justice to what you are witnessing.
The sun is up and you start the final push out of the Canyon. 4500 feet in 4.5 miles. 1000 feet per mile. No matter how slow you go, you find yourself out of breath.
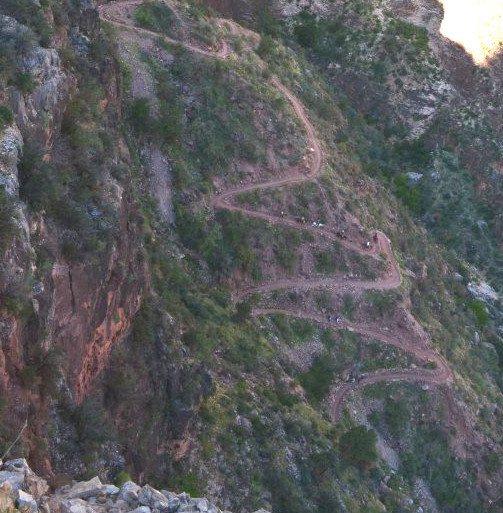
But, because you trained diligently beforehand, you are confident you can make it. You just take one step after another and before you know it, you have gone through dozens of switchbacks and have made it to the rim of the Canyon.
You did it!
Some last pictures, hugs and celebration with your team. A final glance over the rim to the river below. As you reenter your everyday world, you will have memories to last a lifetime.
This is a bit of what the trek in and out of the Canyon is like when you’re in shape for the journey. Trust me, the experience is completely different for the unprepared.
So how can you train so that you are in shape for your journey?
Here are 5 essential tips to get you ready for your trek in the Grand Canyon.
1. Train your quadriceps for the downhill
Most people think that the climb out of the Canyon is the hardest portion of the trip. After all, how difficult can it be go downhill?
While climbing uphill is a challenge from a cardiovascular standpoint (we will get to that in a moment), the hardest part for most people is the hike down. Hiking 4500 feet down, over 7 miles, is one of the most difficult challenges for your quadriceps (quads) that you will ever do.
Before we go on, let me explain a few things. You probably know that the quad muscles are what most people refer to as the thigh muscles. They are called the quads, because they are a group of 4 distinct muscles: the vastus lateralis, vastus medialis, vastus intermedius, and the rectus femoris.
Hiking downhill, the quad’s job is to act as a brake — to slow you down.
And when you’re hiking downhill, you’re working the muscles in a way that they are not used to working . They are working “eccentrically”. Without getting too technical, eccentric contraction refers to any movement that lengthens a muscle at the same time it is being contracted. So for example, your bicep is contracting as you lift a dumbbell. As you slowly bring it back down, the bicep is still contracting as it lengthens.
Eccentric exercises are also referred to as negative training or negative portion of any exercise.
So to prepare for the downhill portion of the trip, you need to work your muscles eccentrically.
How do you do this? Here are some ideas:
-
- Hill Interval Training. Start at the bottom of a hill. Walk to the top and immediately turn around and walk down. Rest at the bottom. Repeat.
- Walk Downstairs. If you have access to high-rise building, take the elevator to the top of the building and walk back down. Rest on the way back up. Repeat.
- Step Downs. Step up onto a box and slowly step back down. The emphasis should be on SLOWLY coming down. The more controlled you are the more realistic the movement will be.
4. Leg Extensions.The leg extension machine is the most quad specific exercise you can do in the gym. To prepare for downhill walking you should focus on the negative portion of the exercise. This means taking 3-4 full seconds as you lower the weight back to the starting point.
2. Get your hamstrings in shape for the uphill
While you will probably feel your quads most walking downhill, you will most likely feel your hamstrings when you are walking uphill. These are the muscles that run down the back of your legs, from your hip to your knee . Like the quads, the hamstrings are made up of a group of muscles — the biceps femoris, semitendinosus, and semimembranosus.
The job of the hamstrings while walking uphill is to support the the weight of your front leg as the back leg is moving to the front. And just like the quads on the downhill, they are what will feel the work on the uphill.
How do you train your hamstrings for hiking uphill?
-
-
- Hill Interval Training. Start at the bottom of a hill. Walk to the top and immediately turn around and walk down. Rest at the bottom. Repeat.
- Walk Up Stairs. If you have access to a high-rise building, walk to the top floor of the building, take the elevator back down. Rest on the way down. Repeat.
- Step-ups. Step up onto a box and slowly step back down. The emphasis should be on SLOWLY stepping up and down. The more controlled you are the more realistic the movement will be.
- Leg Curls. If you have access to a gym, the leg curl machine is the most hamstring specific exercise you can do.
-
3.Prepare your back for carrying weight
Most multi-day trips in the Grand Canyon require you to carry 35-45 pounds of gear on your back. Basically everything that you need during your time in the Canyon will be on your back. You will be carrying your clothing, a sleeping bag, a tent, water, food, etc.
45 pounds might not sound like a lot of weight, until it is on your back 7 hours into a hike. You will be carrying that 45 pounds ALL DAY, EVERY DAY during the trip.
If you are not prepared, your back will hurt, your shoulders will hurt, your hips will hurt. YOU will hurt.
But, there is a way to prepare well.
The way you prepare your body to carry this type of weight is to….drum roll please!…train to carry that weight. Were you expecting an easy, earth- shattering, magic bullet piece of advice? I wish I had it! But with this, there is none.
So how do you safely and efficiently train to carry a heavy pack?
Start slowly. Hike with a pack—the exact pack that you will be using on your trip. And each week make the pack progressively heavier.
Adding kitty litter is a great way to slowly increase the weight in your pack. Also, because it moves around, a pack with kitty litter challenges your balance as you walk. It mimics how your pack with all its gear will act and feel on your trek. Training this way will naturally increase your balance.
Start fairly light, but increase the weight every week. If you follow the progression below, you will be ready to carry a 45 pound pack in 12 weeks.
[table id=1 /]
4. Get your body used to drinking during exercise
The Grand Canyon is a desert. Which means that it is HOT and it is DRY. And even if you weren’t exercising, you would be losing a lot of fluids during your trip.
Many people lose up to a liter of water (about 33 ounces) per hour in the Grand Canyon. This means that to replace your lost fluids, during a 4 hour hike, you need to drink more than a gallon of water. Yes, I know, that is a LOT of water.
You need to get your body used to taking in that much water.
If you don’t, when you’re hiking, you simply won’t drink enough. You will feel bloated, and you will overestimate the amount of water that you have consumed. That is when you become dehydrated, and things get ugly from there. Trust me, by the end of the day, you will feel miserable.
So how do you prepare your body to drink that much water?
It takes time. It doesn’t happen in a day. So, every time you go out for a hike bring a water bottle with you and FINISH your goal amount before you finish your hike.
Shoot for 33 ounces of water per hour in hot weather. Sounds silly now, but you will thank me later.
5. Teach your mind to be okay walking slowly
I could write an entire blog post on this subject. And I probably will in the future. But the most important thing you can do before you leave for your Grand Canyon trip, is train your mind to be okay with walking slowly.
Let me explain.
In our modern world, where we are always connected to our phones and to the internet, most people are in a constant hurry. We always have someplace to be — always on the go. Trying to make the most out of ever moment.
But that go, go, go mentality is harmful on a long hike. Especially a long uphill hike. You will do better if you hike too slow than if you hike too fast.
Does that sound counter-intuitive?
Think of it this way. If you hike too fast and too hard , your muscles will build up lactic acid. And lactic acid is what makes your muscles burn. Don’t you hate that feeling? Even with everything I’ve done, I am still not a fan.
But, if you back off, stop trying to get up the hill as fast as possible and just relax, your body won’t build up lactic acid. Without the agony of burning muscles, you will make it up the hill faster in the long run.
How do you teach your mind to be okay walking slowly?
- Relax. When you’re on your training hikes, remember you have no place to be. You have no problems to solve. Realize that the only thing you have to do when hiking is put one foot in front of the other. Do it again. And again.
- Meditation. If the entire concept of relaxation is foreign to you, I urge you to try mediation. If you need some help, here is one of my favorites.
- Music. Soothe your mind with your favorite type of music. Give yourself a set time every day to do nothing but enjoy music.
- Find a favorite place to relax without the distraction of the usual devices that are so much a part of our lives. Maybe a swimming pool, or beach if you’re lucky. Maybe a trail or garden or park. Anywhere you feel free of everyday life.
I hope this helps you get prepared for the trip of a lifetime.
If this all seems daunting to you, don’t worry, there is help available.
You may just want someone to develop a training plan for you. If so, we can help.
I would love to design a training program specifically for you.

